

Using DX8 with Acquia DAM
In order to use Acquia DAM with DX8, there are a few steps that are required to integrate DX8 with Acquia DAM.
Step 1 - Installing and configuring Acquia DAM module
To install and configure Acquia DAM:
- Install the Acquia DAM module
- Connect website to Acquia DAM following the Connecting to Acquia DAM steps in the Acquia DAM documentation
- Configure a media type to use with Acquia DAM, by following the Configuring a Media Type steps
- Configure an entity browser to use with Acquia DAM assets, by following the Configuring an Entity browser Acquia DAM documentation.
Step 2 - Authenticate Drupal user to access Acquia DAM
The Drupal user that will be using Acquia DAM on the website needs to be authenticated with Acquia DAM:
- Navigate to your Drupal user profile

- Click the Acquia DAM tab
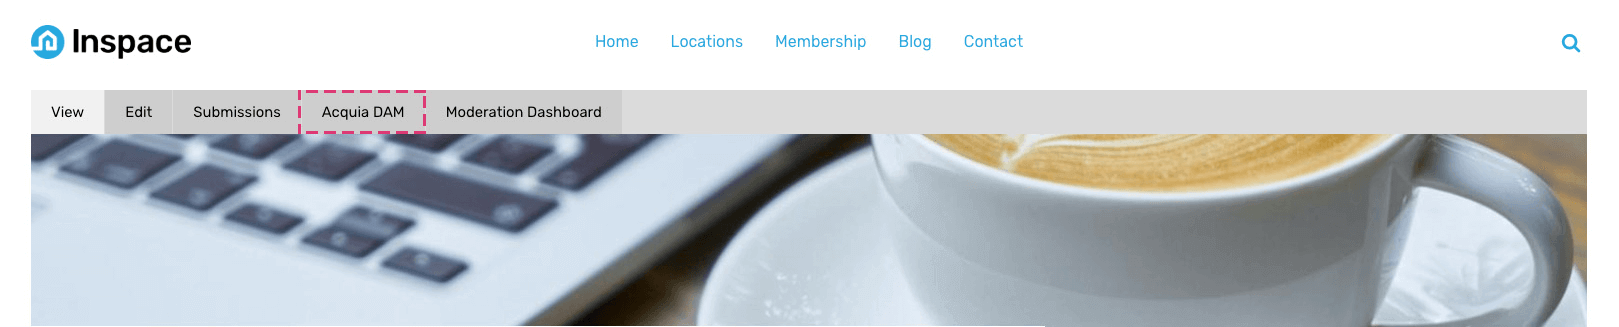
- Click Authenticate link

- Login to your Acquia DAM account
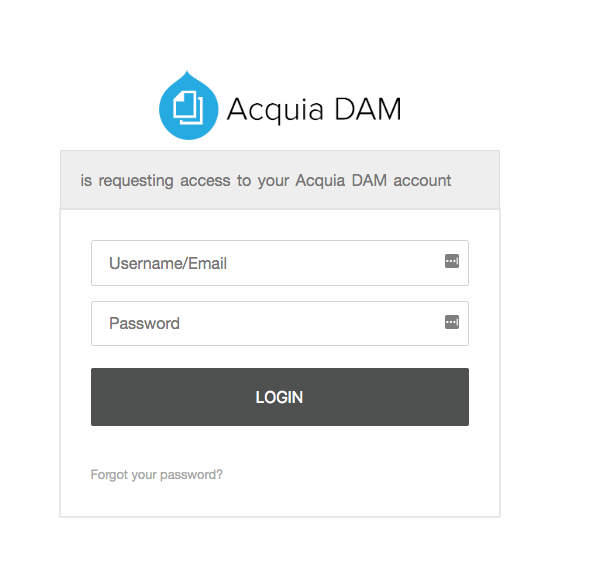
You will then be redirected back to the site and the user profile page should now say 'You are authenticated with Acquia DAM.' An authentication expiration date and time should also appear, this should be a timestamp in the future.
Step 3 - Set Image browser for content
To set the image element and image upload form fields to use Entity browser:
- Navigate to DX8 > Configuration > System Settings
- Set Image browser for content to Entity browser
- Entity browser to Image browser
Note that you may need to add the Acquia DAM widget to your Image browser and select media type of Acquia DAM image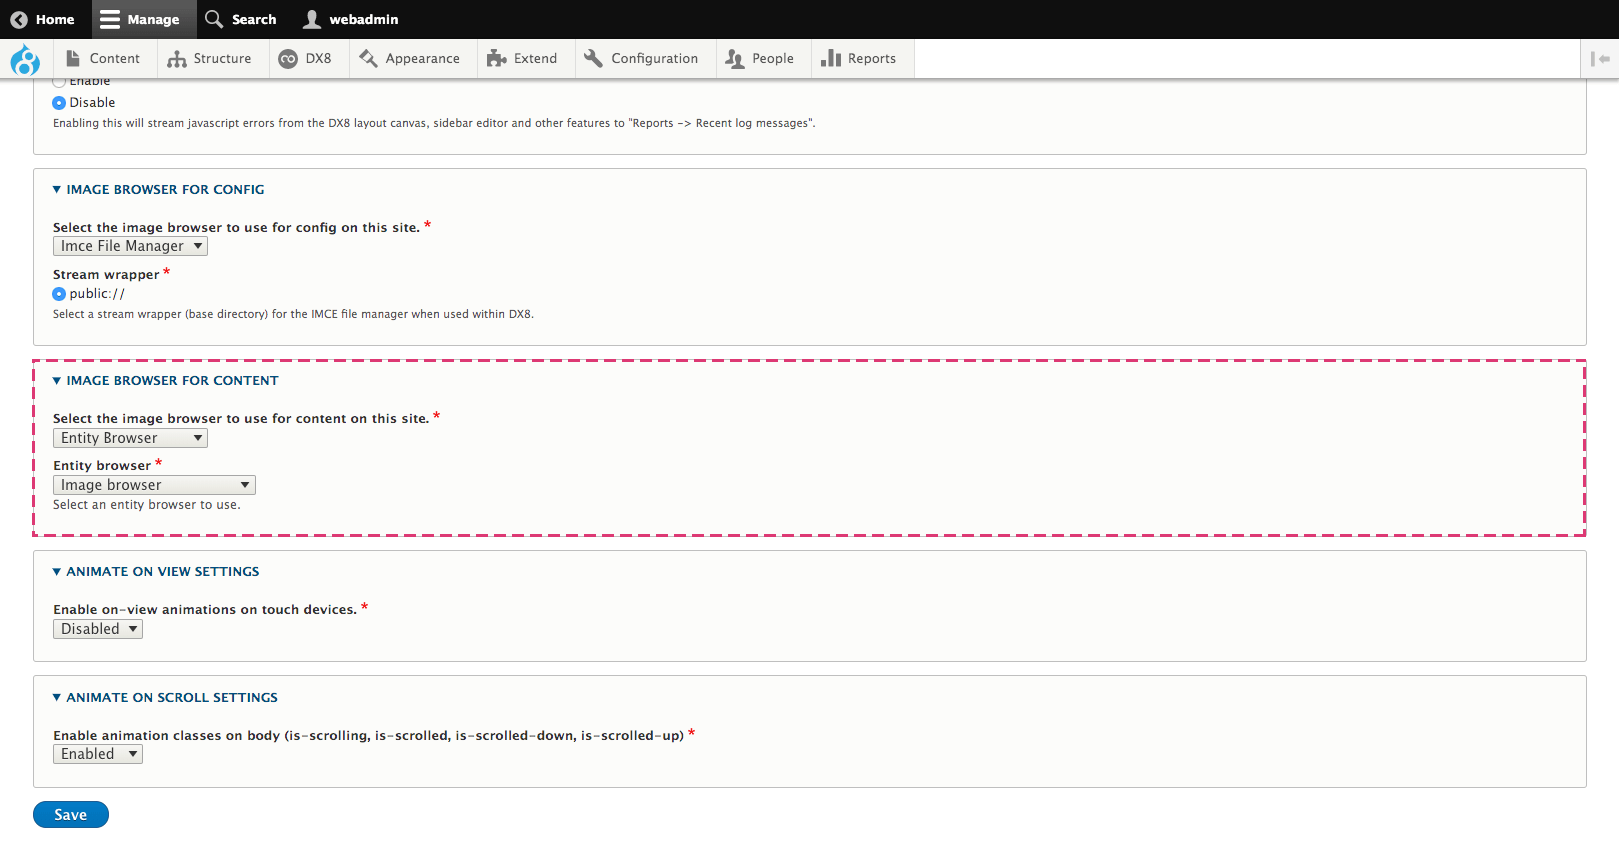
Once configured, when using the image element or image uploader field on a component, editing these on a node will now use the Entity browser set in the DX8 system settings.
When using the Entity browser element, if the Entity browser type is set to one which has Acquia DAM widget configured this will allow the website editor to select an Acquia DAM asset, this doesn't have to be an image, it can be any type of media that is supported.
For further information on Acquia DAM please refer to the Acquia DAM online documentation.